Applying aloe vera gel is a healthy way to pamper your skin. It contains many nutrients which can help you to achieve naturally glowing skin. Aloe vera also provides proper nutrition to your scalp and hair pores which makes your scalp and hair healthy. It helps in boosting hair growth and also aids in calming dry and itchy skin. So, why not you should make this aloe vera gel at home which is easy to make and contains no chemicals.
Let’s take a look at why aloe vera is good for skin and hair and how to make aloe vera gel at home.
Beauty Benefits of Aloe Vera Gel
1. According to The Indian Journal of Dermatology, Aloe vera plant has been known and used for centuries for its health, beauty, medicinal and skin care properties. It has been used for medicinal purposes in several cultures for thousand of years. Alexander the Great, and Christopher Columbus used it to treat soldiers’ wounds.
Aloe vera contains 75 potentially active constituents which include vitamins, enzymes, minerals, sugars, lignin, saponins, salicylic acids and amino acids(source).
2. Aloe vera contains antibacterial properties. They fight acne-causing bacteria. Aloe vera prevents the bacteria from infecting the acne wounds. This not only prevents the spreading of acne but also help treat it. (Source)
3. Aloe vera contains zinc which is a very important mineral for your skin. Zinc contains astringent properties. It unclogs pores by removing excess oil and dirt trapped in it. It also helps tighten your pores. This would prevent future acne breakout as well as improve your skin’s appearance. It also has magnesium which helps relieve itching and clear your skin of acne.
A study done in 1935 and 1996 reported that aloe vera extract helped to reduce inflammation related to skin disease. It also provides rapid relief from the itching and burning associated with severe radiation dermatitis, scalp acne, and skin regeneration. (Source)
4. Aloe vera increases the blood circulation which helps to boost hair growth. And also, it heals the damaged cells of the hair follicle and makes the scalp healthy. It contains vitamin E which protects the hair from sun damage and boosts hair growth. Vitamin E is one of the most overlooked vitamins, it’s an antioxidant that repairs and builds tissue, which is essential for healthy hair growth. (Source)
5. Aloe vera gel calms the itchy scalp and treats dandruff caused by dry skin. It moisturizes and calms the dry scalp and provides essential nutrients to scalp and hair follicles. Its antifungal and antiviral properties treat dandruff and flaking.
A 1998 study found that aloe vera helped resolve the scalp inflammation that dandruff causes. The fatty acids found in the aloe plant have anti-inflammatory properties. (Source)
Wondering How To Add Aloe Vera In Your Beauty Regime?
Here are a few recipes which are made with aloe vera and are very easy to make at home. I have used some recipes personally which gave me the desired result. Also, some of the recipes are being loved by my readers too.
How To Harvest The Gel From Aloe Vera Leaves
Supplies You Need
- aloe vera leaf
- sharp knife
- spoon
- clean airtight container for storing
- blender or immersion blender
- clean bowl (if you are using an immersion blender)
Directions
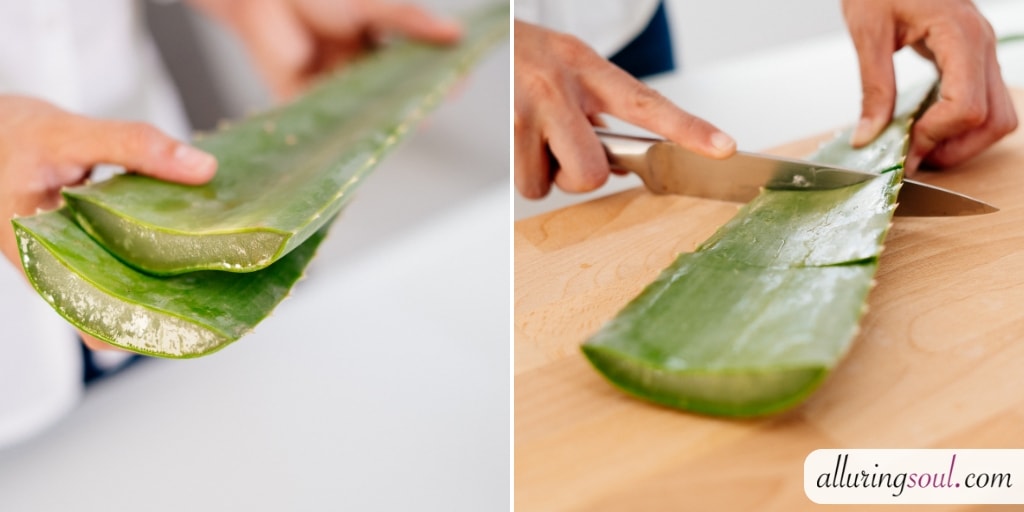
1. If you have access to an aloe vera plant, take a sharp knife and cut off a leaf from the outside of the plant, close to its base. They are usually more mature and contain plenty of gel.
2. Place the aloe vera leaves upright in a cup to let the dark yellow resin or sticky gel drain out. The resin contains latex, which can be slightly irritating to the skin. It’s best to drain it out so it won’t get into your gel.
3. After the resin has drained, then wash the aloe leaves and then cut the aloe leaves into big sections. This makes it a little more manageable to extract the gel properly.
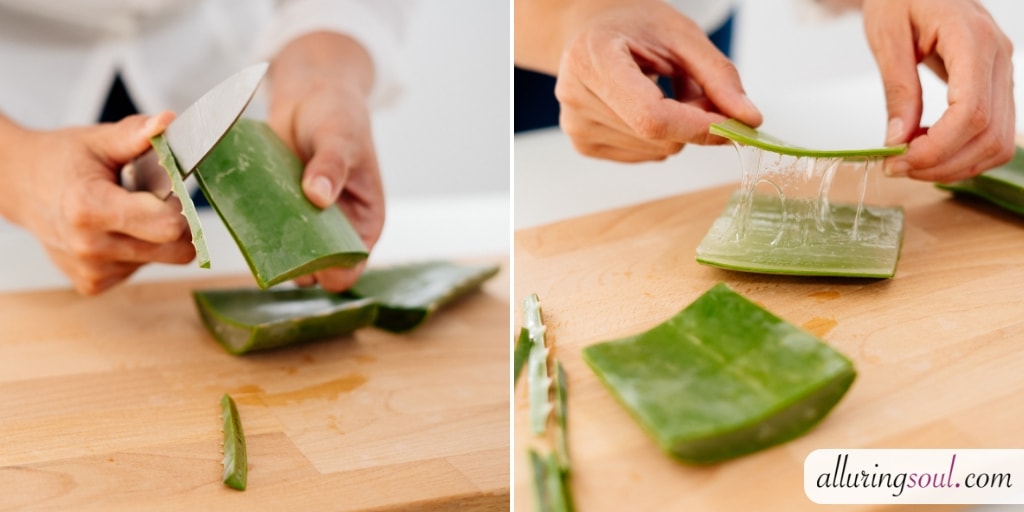
4. Now, cut the edges of every piece of aloe leaf and then peel off the skin of the aloe vera leaf on one side using a vegetable or potato peeler. Or, you can remove the upper skin of leaves using a knife. You will see the sticky gel underneath.
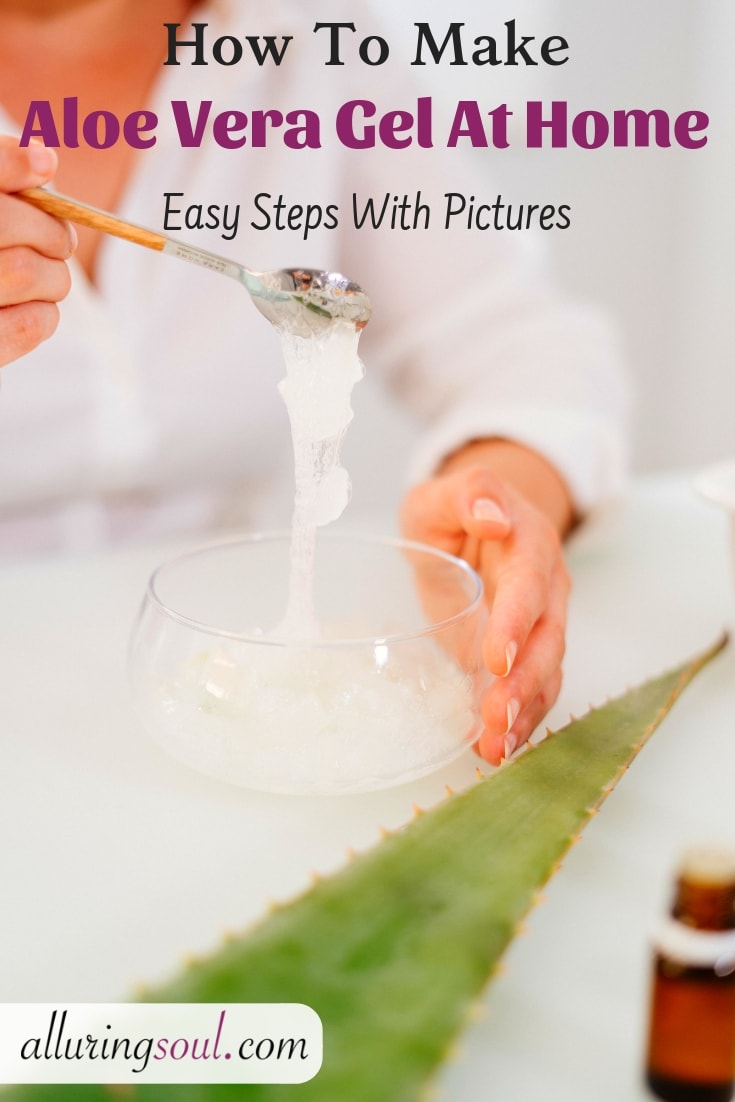
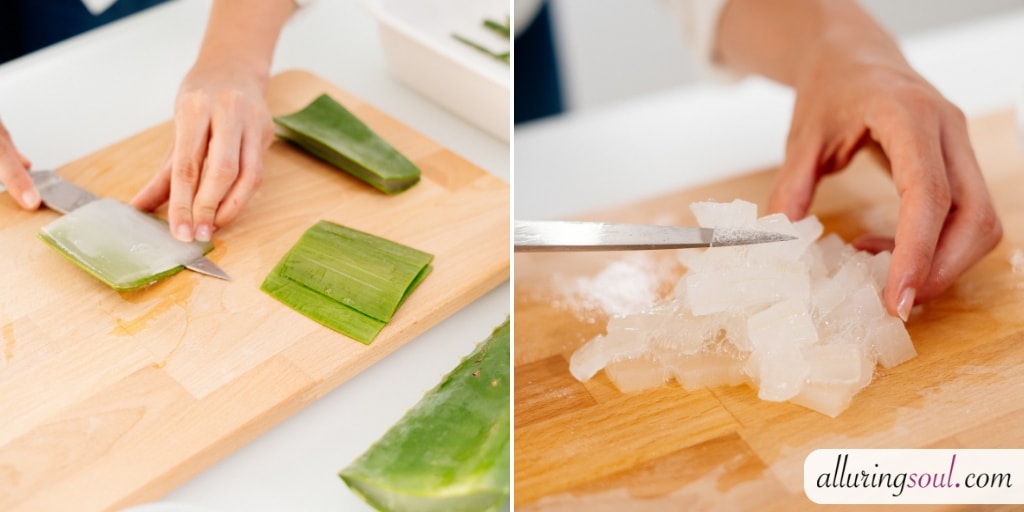
5. With the help of a spoon, carefully scoop out the pulp or using a knife extract the pulp and collect it in a bowl. Also, you can cut the aloe pulp into pieces if you have a large piece of extracted pulp. Avoid scraping the yellowish part of the pulp, as it contains toxins.
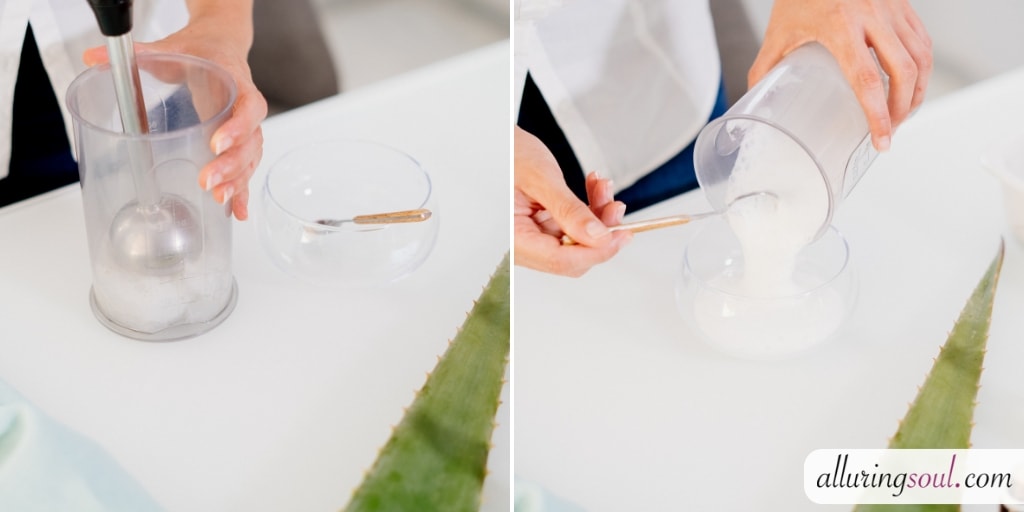
6. Now, blend the extracted aloe vera pulp for 30-60 seconds in a high-speed blender. It will almost immediately froth when you start your blender. This is normal. If you are using an immersion blender just blend it in the bowl until smooth. And then, transfer it to an airtight container.
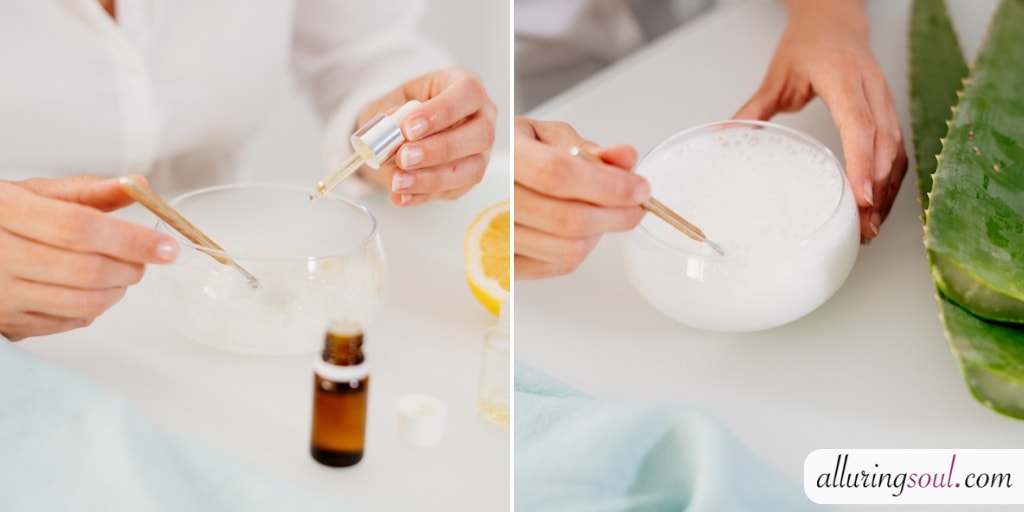
7. Optional – You can add your favorite essential oil or carrier oil to boost the power of aloe vera gel for your skin and hair.
8. You can keep the aloe vera gel in the refrigerator for about a week without preservative.
Notes –
1. If your plant is too young, make sure you do not cut off too many leaves at once. Aloe vera leaves are also available in supermarkets in the produce section.
2. Since aloe vera gel is perishable, it’s best not to make a huge batch at once, unless you plan to give some away. Cutting off just a leaf or two, especially if they’re large, should be sufficient to make 1/2 to 1 cup of gel.
3. If you have a lot of gel and you want it to keep it for a month or two, mix in 500mg powdered Vitamin C or 400 IU vitamin E for every 1/4 cup of gel you have. Place the ingredients together in a blender and blend well. The gel will look foamy at first. This should increase the life of your gel if it is stored in the refrigerator.
4. Always do a patch test before applying to the skin and hair.
How To Preserve Aloe Vera Gel At Home
Since aloe vera gel is perishable, it’s best not to make a huge batch at once, unless you plan to give some away. But, if you have a lot of gel and you want it to keep it for a couple of months you have to store it in a proper way. Here’s a list of few easy ways in which you can store aloe vera gel, without compromising with its quality.
1. Store It In A Freezer
Freezing aloe vera gel is the easiest way to increase shelf life. Just pour the blended aloe vera gel in the ice cube tray and freeze it until solid. Then transfer the aloe vera cubes into a freezer safe container or bag. Pull out an aloe cube as needed for burns or to use in one of the above recipes. This is a great way to keep it on hand.
2. Use Natural Preservatives
Natural preservatives like vitamin e oil and vitamin C powder can help to increase the shelf life of aloe vera gel. Just mix in 500mg powdered Vitamin C or 400 IU vitamin E for every 1/4 cup of gel you have.
Place the ingredients(example – aloe vera pulp and vitamin e oil) together in a blender and blend well. Vitamin C powder takes time to dissolve. So, just wait for some time and then blend again to mix everything. The gel will look foamy at first. Transfer this to a container and store it in the fridge. Use as and when required.


1 Comment
Kathy
July 5, 2019 at 2:35 amLove your posts!!!!