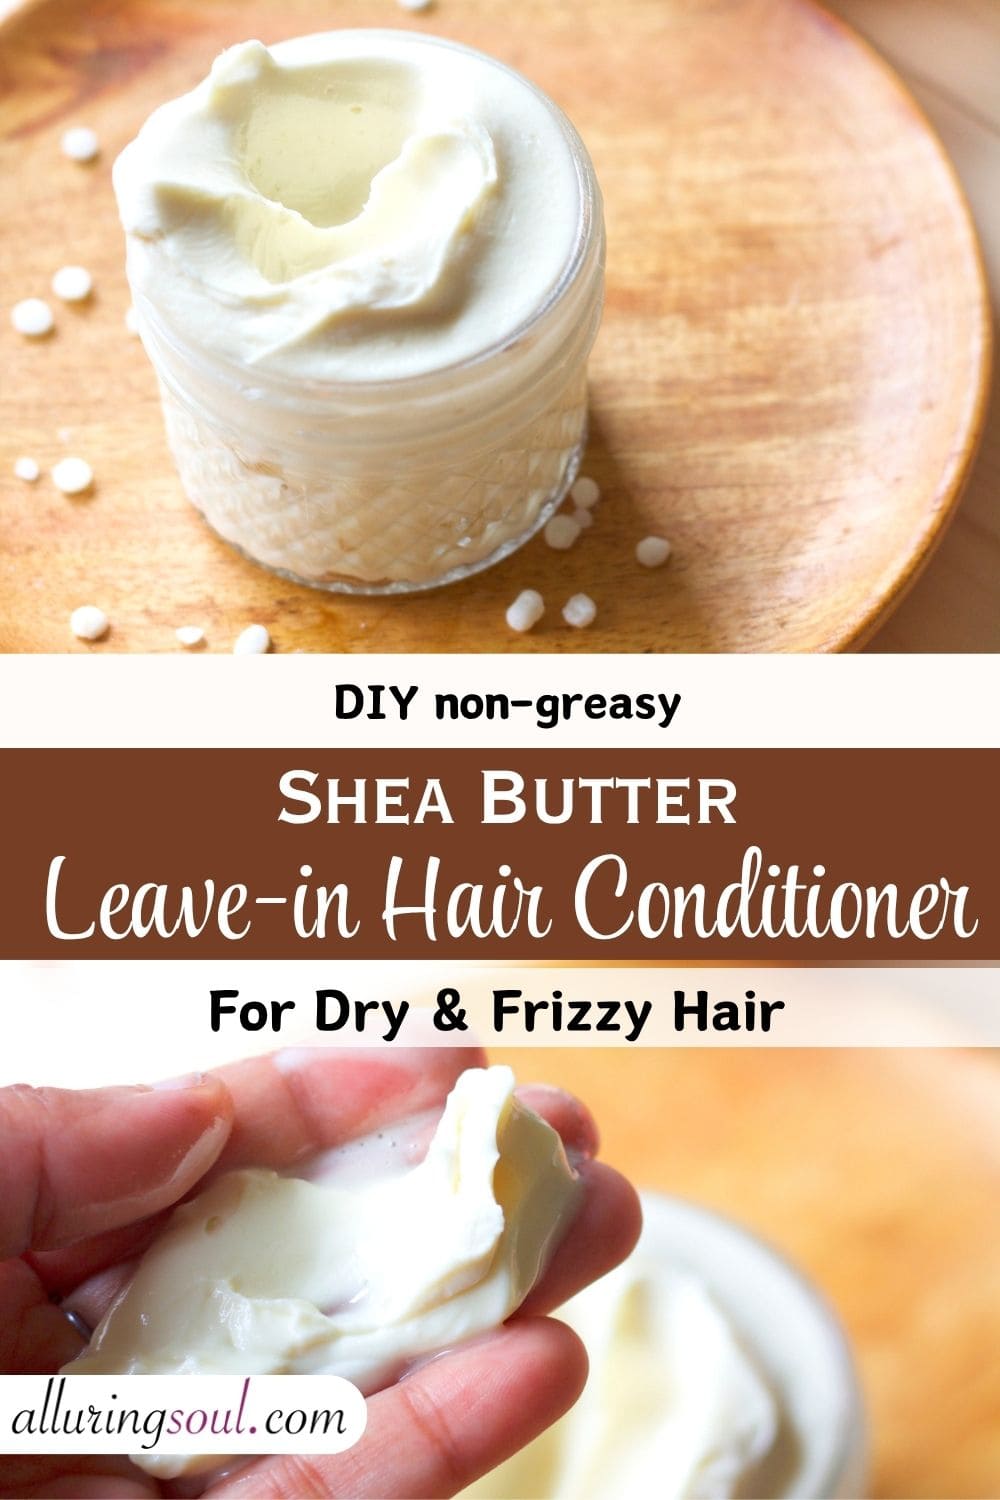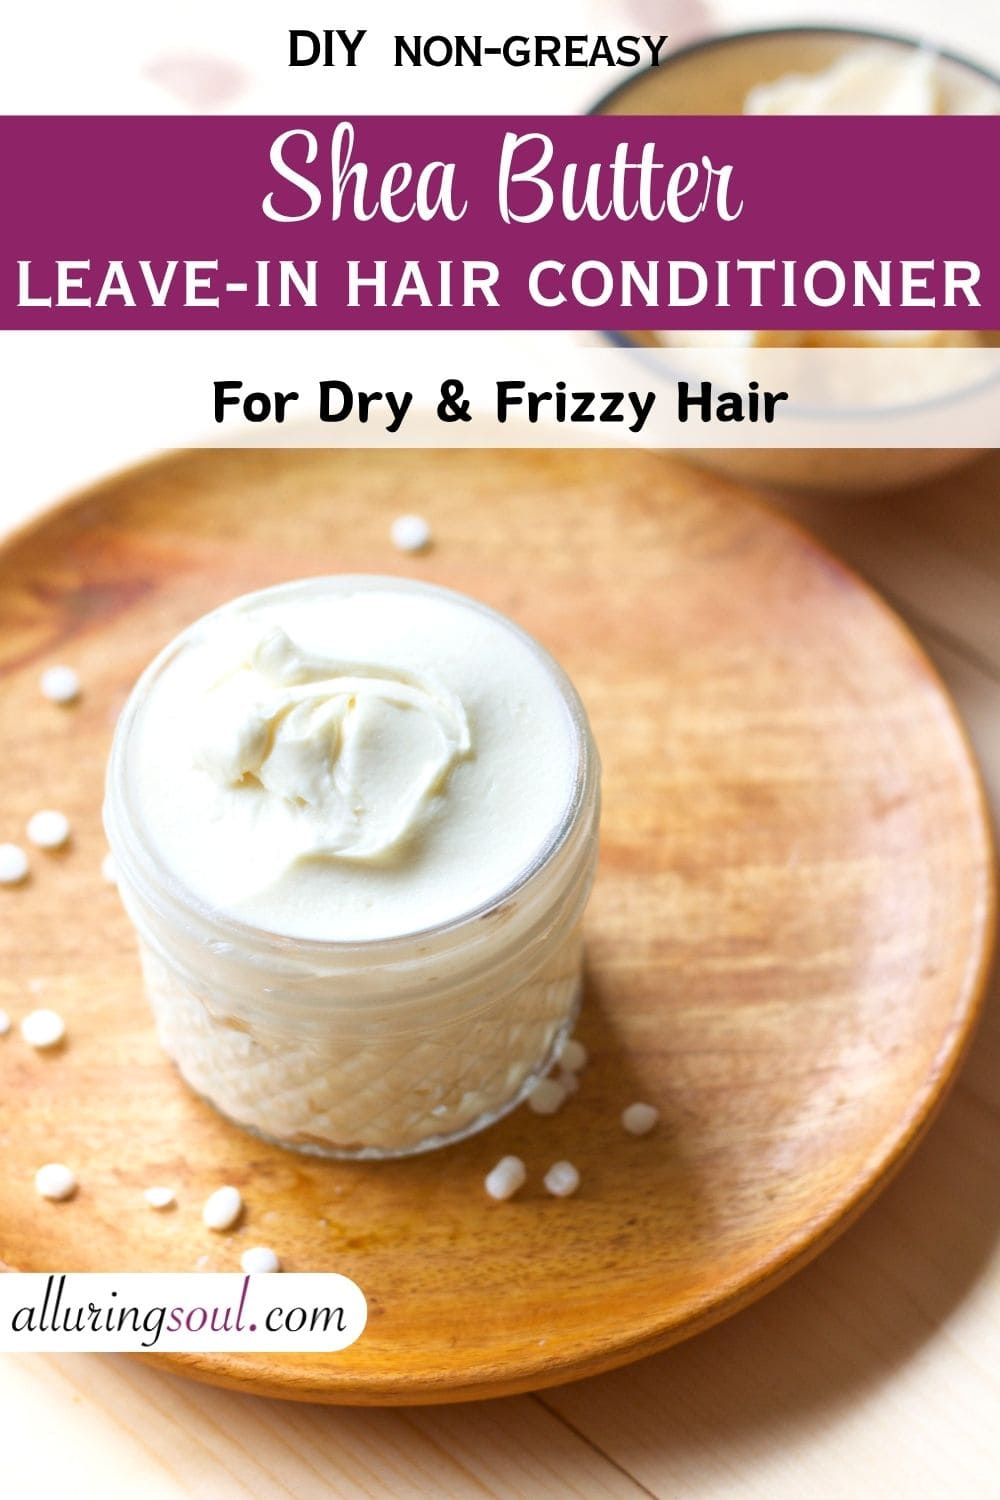
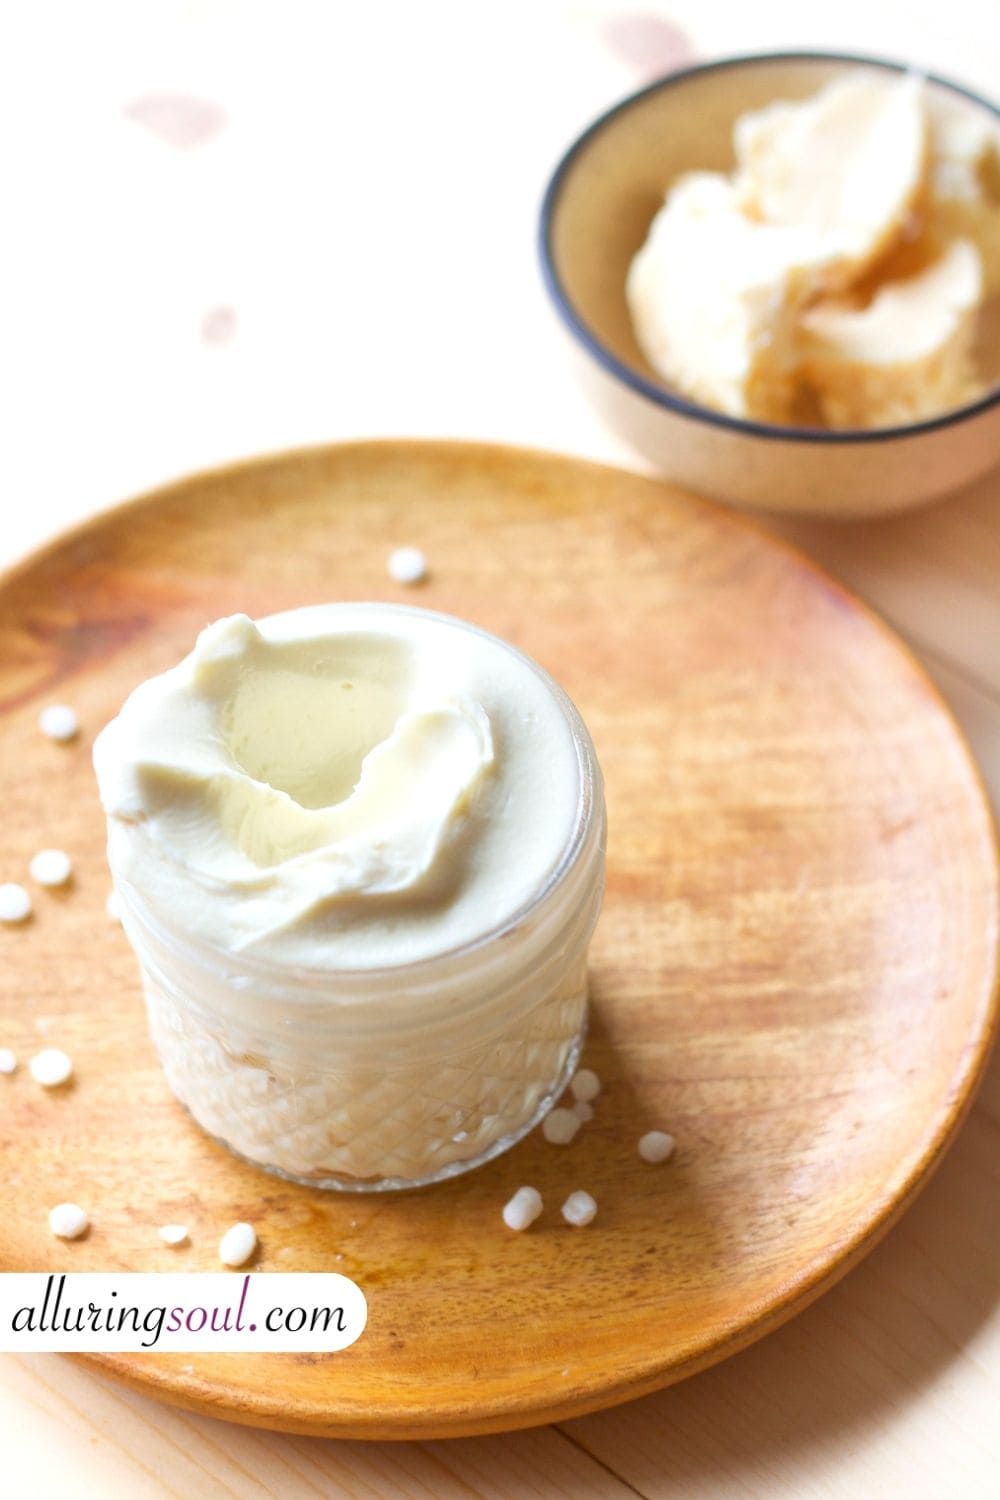
If your hair often feels dry, frizzy, and difficult to manage, a good leave-in conditioner can make all the difference. Store-bought products, however, are often loaded with silicones, synthetic fragrances, and heavy oils that can weigh hair down. That’s where this DIY Shea Butter Leave-In Hair Conditioner comes in—lightweight, nourishing, and completely natural. Made with shea butter, hydrating oils, and non-greasy ingredients, this recipe helps lock in moisture, smooth frizz, strengthen strands, and encourage healthy hair growth.
Perfect for dry, damaged, or frizzy hair types, this non-greasy formula leaves your hair soft, manageable, and shiny without buildup. Plus, it’s easy to whip up at home using simple ingredients. Let’s take a look at the benefits of ingredients used in DIY Shea Butter Leave-In Hair Conditioner for Dry & Frizzy Hair.
Benefits Of DIY Shea Butter Leave-In Hair Conditioner for Dry & Frizzy Hair
BTMS-50
BTMS-50 is a conditioning emulsifier that gives hair incredible softness and manageability. Normally, emulsifiers are used to combine oil + water into a stable emulsion (like lotions or traditional conditioners). But BTMS-50 has a special advantage:
- Even in no-water recipes (like whipped hair butters or leave-in creams), BTMS-50 still works as a conditioning agent.
- Since it’s cationic (positively charged), it binds to the negatively charged hair strands, coating them in a thin, silky layer.
- This means it conditions and softens hair even without water being present in the formula.
- It also improves the texture of anhydrous products, making them creamy instead of greasy or waxy.
Why is BTMS-50 used in haircare?
- It conditions hair by reducing static, frizz, and tangles.
- It softens and smooths the cuticle, making hair feel silky.
- It provides emulsification, meaning it allows oils and butters to blend into a creamy texture.
- It helps deposit conditioning ingredients onto the hair shaft so the benefits last longer.
- It’s rinse-off safe and leave-in safe, making it versatile for conditioners, masks, and creams.
What is Cetyl Alcohol?
Cetyl alcohol is a fatty alcohol (not a drying or irritating alcohol like ethanol or isopropyl alcohol). It’s usually derived from coconut oil or palm oil and comes as white, waxy pellets or flakes. It belongs to a family of long-chain fatty alcohols that are widely used in cosmetics for their ability to stabilize, thicken, and soften formulations.
Why is Cetyl Alcohol Used in No-Water (Anhydrous) Recipes?
Most people associate cetyl alcohol with emulsions (lotions, conditioners), but it has an important role even in water-free formulations like whipped body butters, leave-in hair creams, or balms:
- Without cetyl alcohol, butters and oils may feel too greasy or melt too quickly.
- Cetyl alcohol gives them a stable, semi-solid cream texture that’s easier to apply.
- Helps cut down the “oily” or “heavy” feel of raw butters.
- Leaves a light, silky, non-greasy finish on skin and hair.
- In haircare, it adds slip and softness, making hair easier to detangle.
- Raises the melting point of butters (like shea or cocoa butter), making the product more heat-stable and less likely to melt in warm climates.
Olive Oil
Olive oil is deeply moisturizing and rich in vitamins A, E, and K, along with antioxidants that protect hair from environmental stressors. It nourishes both scalp and strands, strengthening weak hair, improving elasticity, and reducing breakage. Its emollient properties smooth the hair cuticle, restore shine, and help tame frizz, making it ideal for dry and damaged hair.
Coconut Oil
Coconut oil penetrates the hair shaft better than most oils due to its lauric acid content. It reduces protein loss, strengthens hair from within, and protects against damage caused by styling and environmental factors. Its fatty acids provide deep hydration, making hair softer, smoother, and more resistant to breakage. Coconut oil also tames frizz and adds a natural sheen.
Shea Butter
Shea butter is a powerhouse moisturizer that coats and protects hair from water loss while repairing dryness and brittleness. Rich in vitamins A and E and essential fatty acids, it nourishes both scalp and strands, reducing frizz and making hair feel softer and healthier. Its protective nature is especially beneficial for damaged or chemically treated hair, giving it new life and shine.
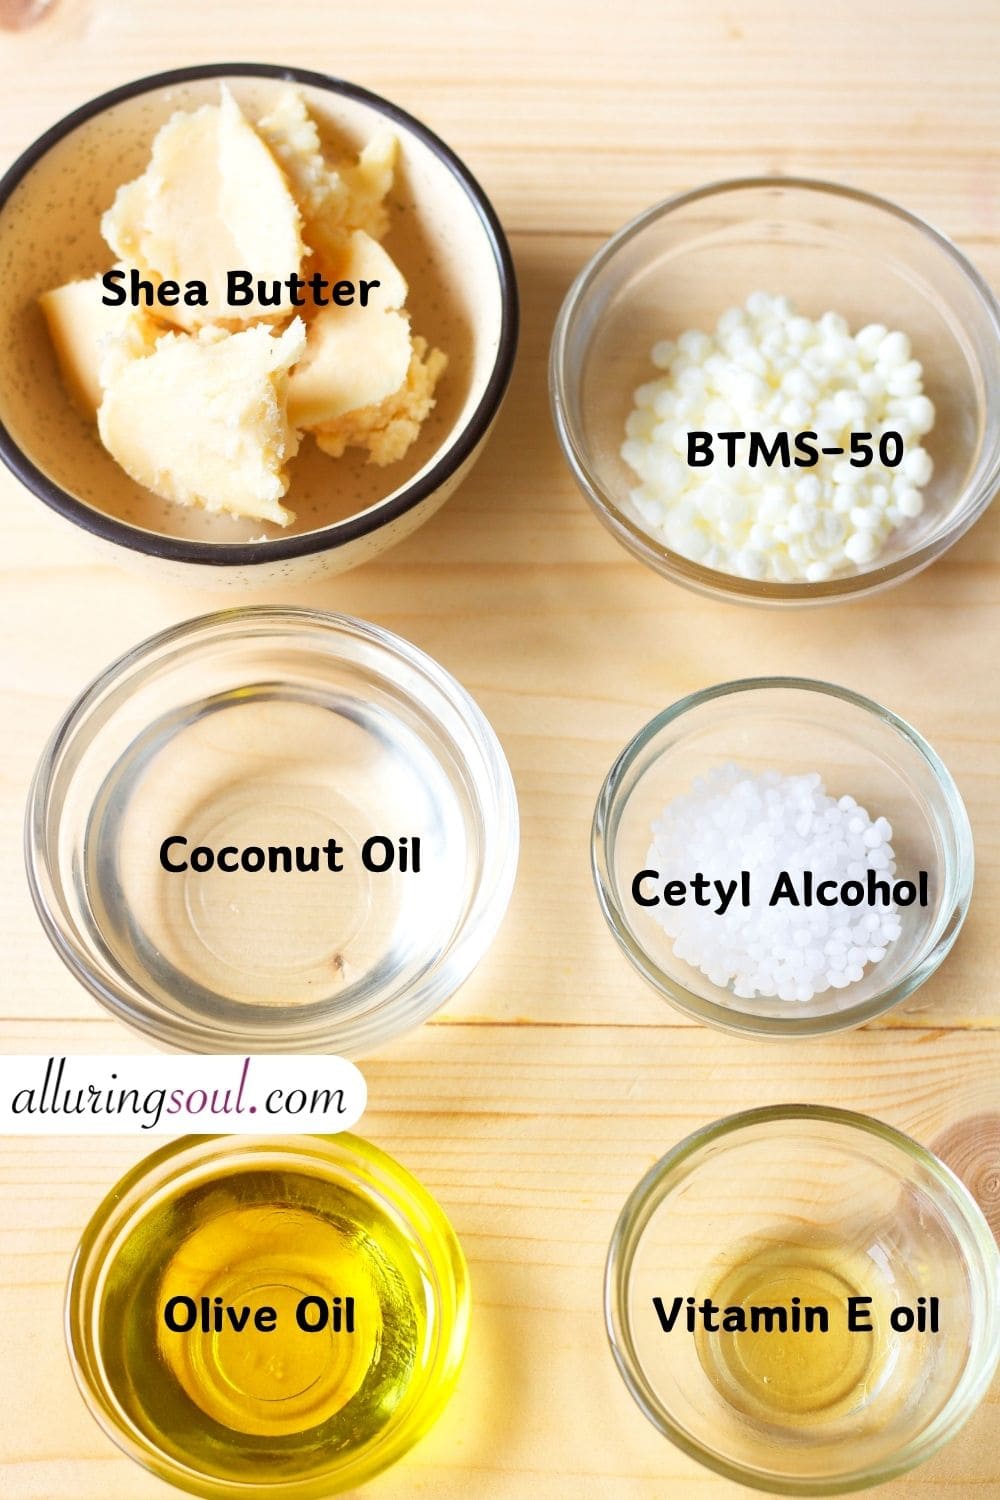
Vitamin E Oil
Vitamin E is a potent antioxidant that helps protect hair from free radical damage while improving scalp circulation. This promotes healthier follicles, reduces breakage, and supports natural hair growth. It also helps repair damage caused by environmental stressors, making strands stronger and shinier while preventing split ends.
Cedarwood Essential Oil
Cedarwood essential oil supports scalp health by balancing sebum production, which helps control both dryness and oiliness. Its stimulating effect boosts blood circulation in the scalp, which can encourage healthier, stronger growth. With natural antimicrobial properties, it also helps keep the scalp clean and balanced, contributing to overall hair vitality.
How To Make DIY Shea Butter Leave-In Hair Conditioner for Dry & Frizzy Hair
- 10g BTMS-50
- 5g Cetyl Alcohol
- 14g Extra Vergin Olive Oil
- 30g Coconut Oil
- 40g Shea Butter
- 0.5g Vitamin E Oil
- 0.5g or 10 drops Cedarwood Essential Oil
- Fill a pot with 1–2 inches of water. Place a heat-safe glass bowl on top, ensuring it doesn’t touch the water.
- Add heated oil phase ingredients into the bowl. Gently melt over low heat, stirring occasionally until smooth.
- Once melted, remove from heat.
- Let the mixture cool slightly until it begins to thicken but is not solid, around room temperature or cooler. Or you can keep it in the refrigerator for about 30-40 minutes until the mixture becomes soft, thick, and opaque.
- Use a hand mixer or stand mixer to whip the mixture for 5–7 minutes until fluffy and creamy.
- Now, add cool-down phase ingredients. Whip again briefly to incorporate.
- Spoon into a clean, airtight container. Store in a cool, dry place.
2. Use 1–2 times per week, depending on your hair’s needs.
3. Don’t apply directly to the scalp unless treating dryness. It may clog pores and make roots oily.
4. Don’t use high heat immediately after application. Heat can damage hair and reduce the conditioner’s benefits.
5. Store in a cool, dry place to maintain texture and consistency.
6. Always do a patch test before using any DIY products.
How To Apply DIY Shea Butter Leave-In Hair Conditioner for Dry & Frizzy Hair
| Step | What to Do | Why It Helps |
|---|---|---|
| Step 1: Prep Your Hair | Wash and condition your hair, then gently pat it dry with a towel until slightly damp. | Damp hair absorbs moisture and nutrients from the conditioner better. |
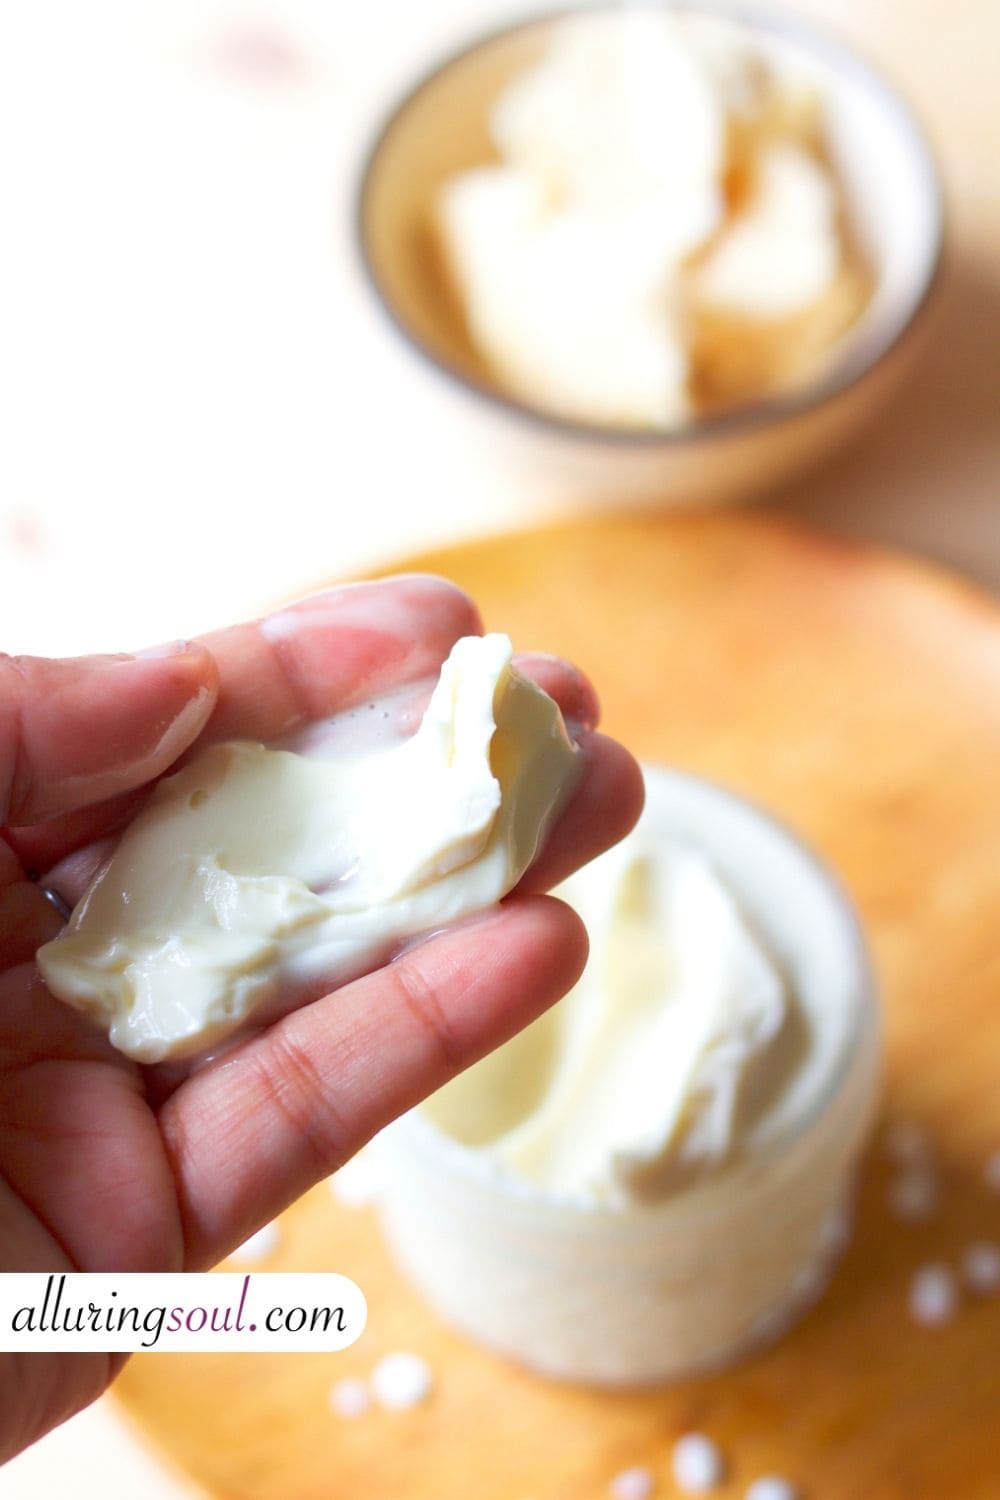
| Step 2: Scoop Out Product | Take a small amount of the shea butter leave-in (pea-sized for short hair, dime-to-nickel size for long hair). | Using the right amount prevents greasiness and heaviness. |
| Step 3: Melt in Hands | Rub the conditioner between your palms until it softens and spreads easily. | Warming it up ensures even coverage. |
| Step 4: Apply to Hair | Smooth the product onto the mid-lengths and ends of your hair. Focus on dry, frizzy, or damaged areas. | These areas need the most moisture and protection. |
| Step 5: Distribute Evenly | Finger-comb or use a wide-tooth comb to spread the conditioner throughout your hair. | Helps detangle and minimizes breakage. |
| Step 6: Style as Usual | Let your hair air-dry or style with low-heat tools. | Reduces frizz while keeping hair soft and manageable. |
| Step 7: Touch-Up | Reapply a tiny bit on dry hair whenever you need extra smoothness or shine. | Great for taming flyaways during the day. |
Frequently Asked Questions (FAQs)
| Question | Answer |
|---|---|
| 1. Can I use this leave-in conditioner every day? | Yes, but use a small amount. Daily use works best for dry or curly hair, while fine or oily hair may need it only 2–3 times a week. |
| 2. Will this conditioner make my hair greasy? | Not if used in moderation. Start with a pea-sized amount and focus on mid-lengths and ends instead of the scalp. |
| 3. Can I use this on all hair types? | It works best for dry, frizzy, curly, or damaged hair. Those with fine or thin hair should apply lightly to avoid heaviness. |
| 4. Do I need to rinse it out? | No, this is a leave-in conditioner meant to stay in your hair to provide lasting moisture and frizz control. |
| 5. Can I style my hair after applying this conditioner? | Yes, but avoid using high heat immediately after application. If using heat tools, apply a heat protectant first. |
| 6. How long does DIY Shea Butter Leave-In Conditioner last? | If stored in a clean, airtight container in a cool, dry place, it can last 3–6 months. Adding a preservative may extend shelf life. |
| 7. Why is my leave-in conditioner grainy/gritty? | Shea or cocoa butter crystallizes from slow cooling. Fix by re-melting fully, cooling quickly by putting it in the refrigerator for about 30 minutes, and then whipping it smooth. |
| 8. Can I use essential oils other than cedarwood? | Yes, you can customize with oils like lavender, rosemary, or peppermint, depending on your hair needs. |
| 9. Is this safe for color-treated hair? | Yes, the natural ingredients are generally safe and nourishing for color-treated hair. |
| 10. Can I use this on children’s hair? | Yes, but use mild essential oils or skip them entirely for kids under 10 years old. |
| 11. Why is my leave-in conditioner liquidy? | Warm storage or a warm climate can make it runny. Fix by re-melting and adding more butter or cetyl alcohol, then whip again. |
| 12. Why is my leave-in conditioner hard? | Cold storage or cold weather makes it stiff. Fix by re-melting and adding more liquid oils like olive oil, then re-whip. |